
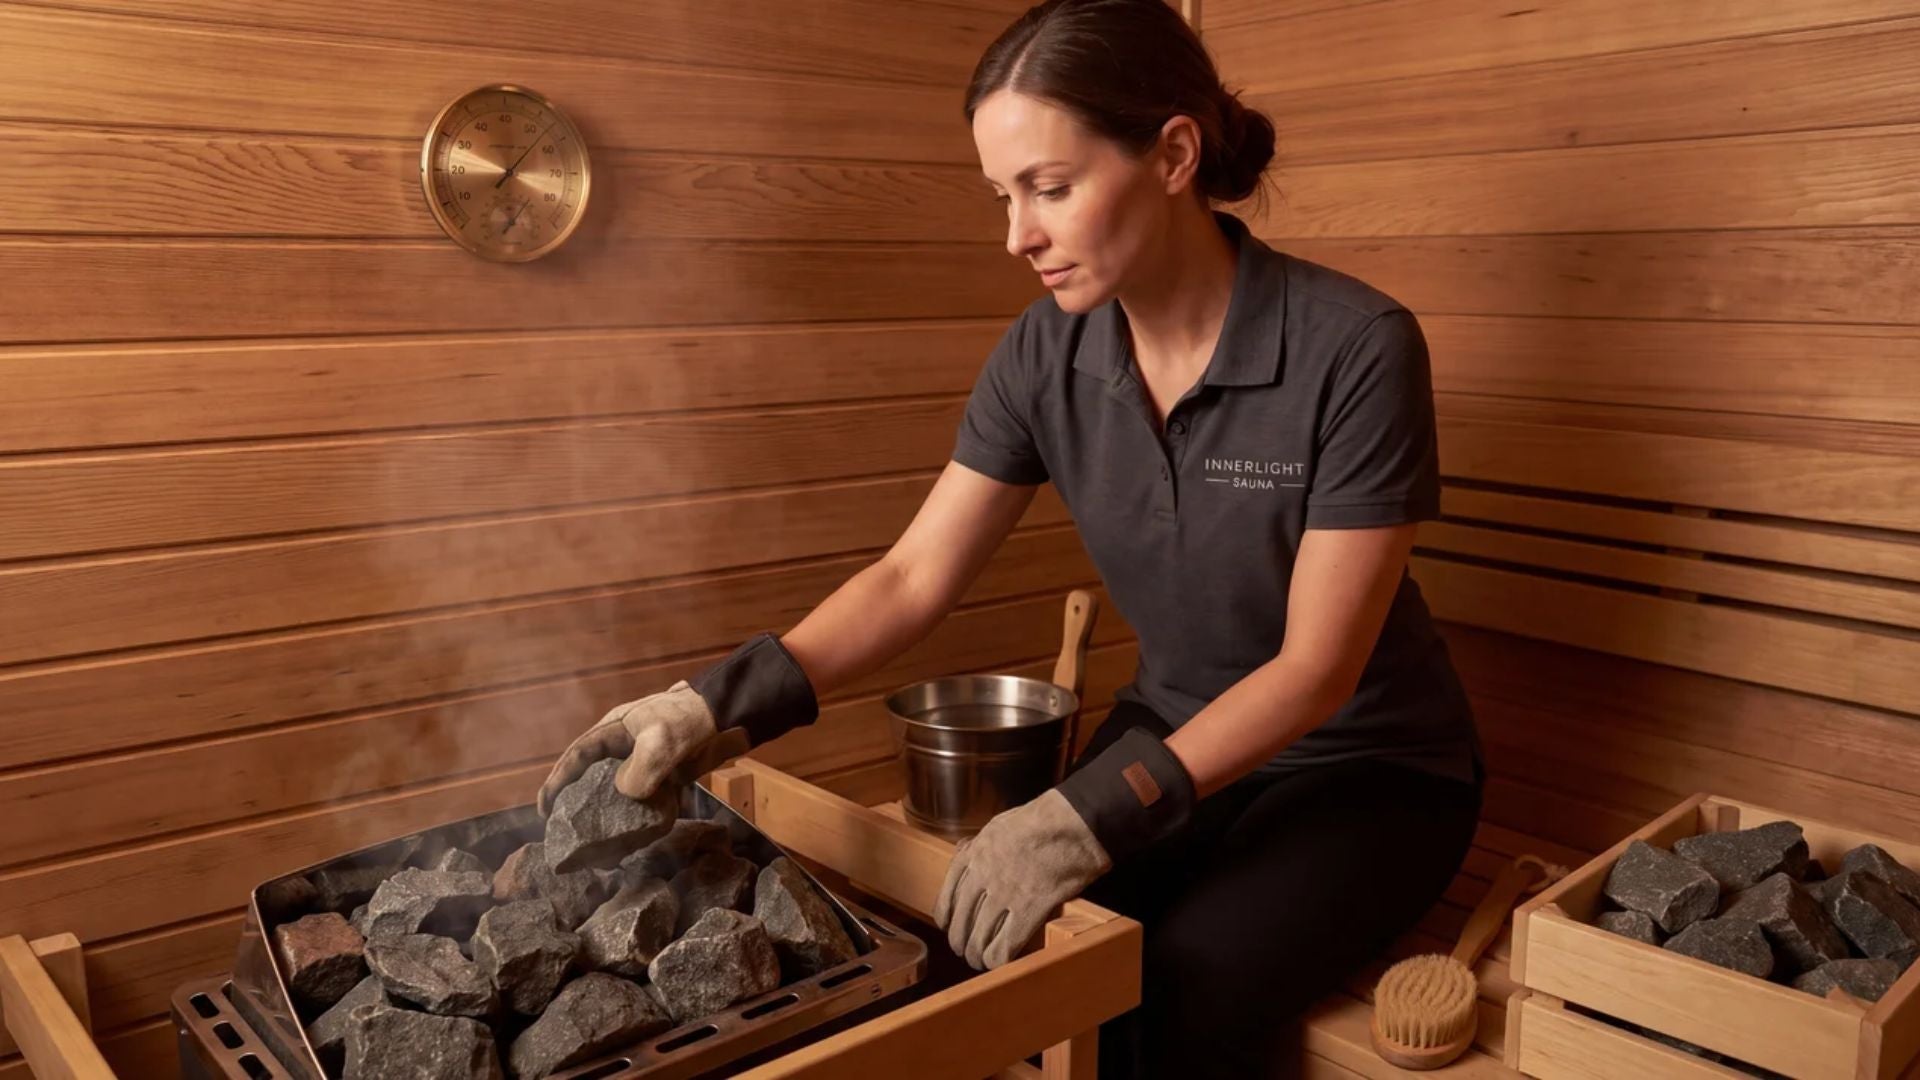
Sauna stones should be the type and size approved for your exact heater, placed loosely enough for air to move through the stone compartment. Remove dust as the manual directs, inspect the stack periodically and replace stones that are cracked, soft or crumbling.
The heater manual takes priority because incorrect stones or tight packing can restrict airflow and shorten heater life.
Key Takeaways
Correct stone selection and arrangement help preserve airflow, heating performance and the heater’s electrical elements.
- Use only sauna stones approved for the heater model, in the specified size and quantity.
- Arrange the stones loosely and support them against one another rather than forcing them between the heating elements.
- Re-stack the stone compartment periodically because repeated heating can cause stones to settle and break down.
- Replace crumbling stones and investigate unusually slow heating rather than simply adding more stones.
What Do Sauna Stones Actually Do?
In a traditional electric sauna heater, the elements heat the stones and the surrounding air. The stone mass helps store heat and turns a small amount of ladled water into a burst of steam, known in Finnish sauna culture as löyly.
Stone type, size, shape and placement affect airflow, element temperature, warm-up and steam. Landscaping rocks or unknown stones can fracture, contain unsuitable minerals or fit the heater incorrectly.
Harvia explains that sauna heater stones are selected for heat storage and durability. Always match the stone package and heater manual rather than choosing by appearance alone.
Choose Stones for the Exact Heater
Start with the heater's model number. Its manual specifies stone size, capacity and any restrictions on ceramic, rounded or split-face stones. Overfilling can obstruct ventilation, while underfilling can expose elements to thrown water.
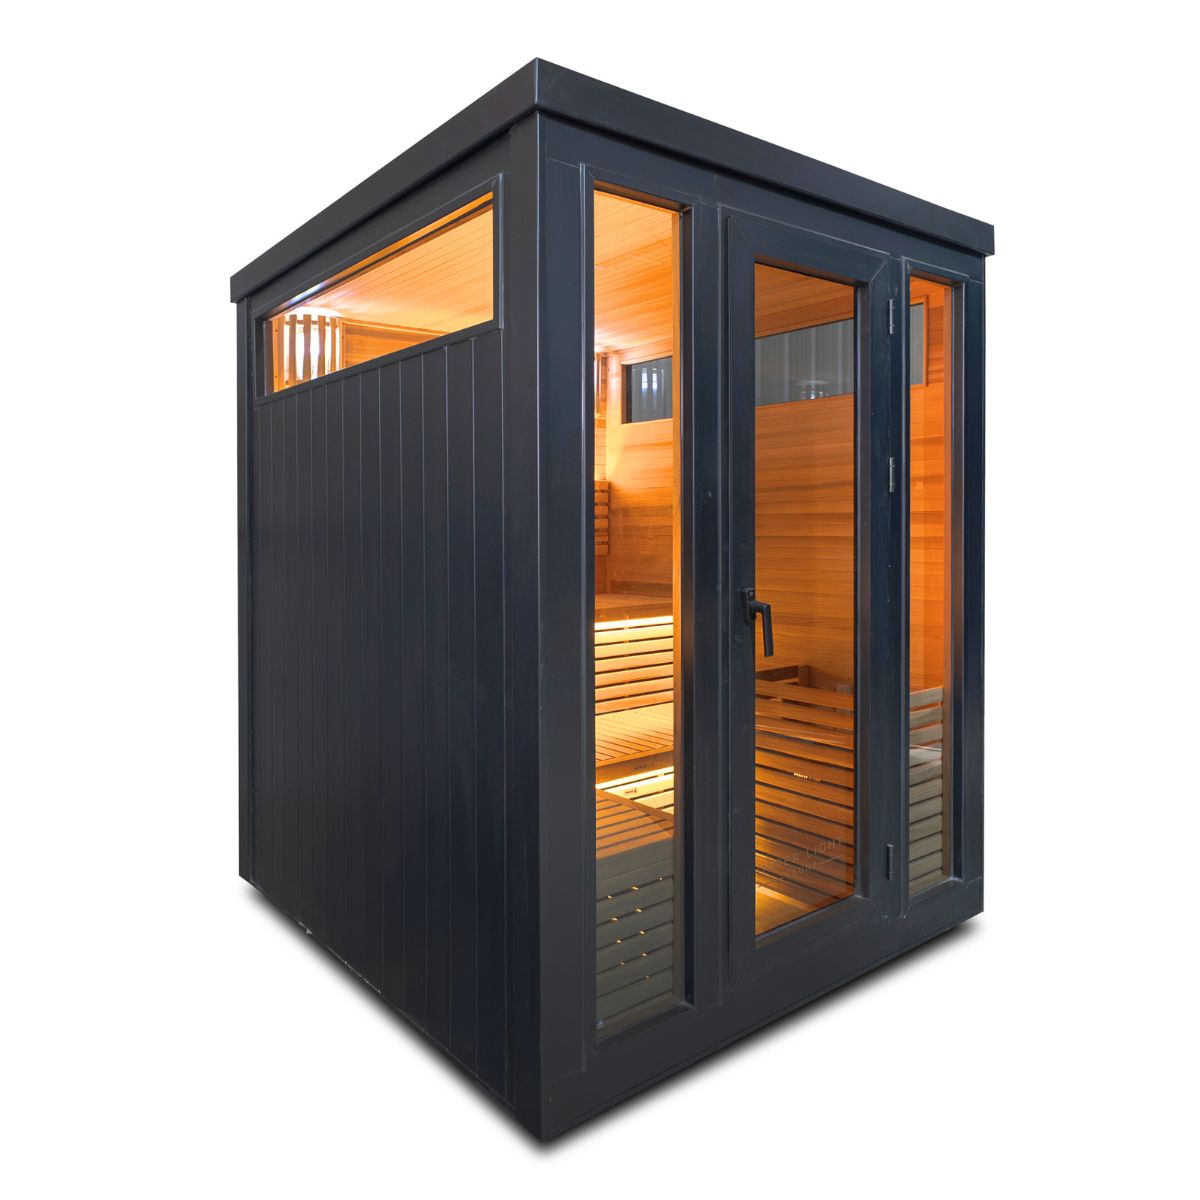
For example, the current Demfin 3 Person Traditional Outdoor Sauna lists a Harvia Vega 4.5 kW heater and a 20 kg stone carton. Treat that as information for that configuration only. Another Demfin size, replacement heater or later product revision may use a different heater and stone quantity.
If the heater label and product page disagree, stop and ask the supplier which manual applies. Do not estimate capacity from the outer cabinet size.
Prepare the Stones Before Stacking
Unpack stones over a suitable surface, inspect each piece and discard badly fractured ones. Wash off loose dust if the instructions direct it, then let the stones drain before placing them in an isolated, cool heater.
Do not wash stones while they are inside a connected heater. Do not use detergent, oil, fragrance or coating. Residue can enter the hot air or create odour when the heater operates.
The heater must be switched off, isolated and fully cool. Ask the installer or supplier for help if access would disturb wiring or fixed guards.
How to Arrange Sauna Stones Correctly
Place stones one at a time. Build a stable, open stack with irregular air paths rather than a tightly packed wall.
Harvia's wall-mounted heater stacking guidance advises supporting stones against one another and avoiding pressure on the heating elements. Do not wedge stones tightly between elements or bend an element to make a piece fit.
Cover elements as the manual shows so water meets hot stones rather than exposed metal. Keep the final level and clearances within stated limits. Do not build a decorative pile unless the heater is designed for it.
Check that no stone can fall through an opening or onto a combustible surface. Refit the approved guard exactly as supplied.
How Often Should You Inspect and Re-Stack Them?
There is no universal replacement interval. Use, temperature, stone quality and water all affect wear. Inspect more often in a busy sauna and follow the heater maker's schedule.
During a cool, isolated inspection, remove stones carefully and look for fragments. Clean only as permitted. Discard pieces that split, crumble or feel soft, then re-stack sound stones with open air paths.
Settled or degraded stones can restrict airflow. Harvia lists stone arrangement and condition among the factors to check when a sauna heats slowly. Do not solve slow heating by overfilling the compartment.
Water, Fragrance and Everyday Use
Use only the water amount and type permitted by the manual. Pour with a sauna ladle, wait for it to evaporate and avoid splashing controls, timber, glass or people.
Only use a sauna fragrance if both the heater and fragrance instructions allow it, at the stated dilution. Never pour concentrated essential oil onto hot stones. It can create strong vapour, leave residue and present a fire risk.
If you are deciding between a stone heater and an infrared cabin, read the infrared versus traditional sauna comparison. The Inner Light Sauna Finder can then narrow traditional, infrared and hybrid models based on how you want to use the sauna.
Final Answer
Choose stones from the exact heater specification, prepare them as directed and stack them loosely enough for airflow. Inspect and re-stack them as part of routine maintenance, replacing pieces that crumble or split. Never improvise with garden rocks, overfill the heater or force stones against the elements.
Sauna Stones FAQ
Frequently Asked Questions
These answers cover stone selection, stacking, preparation and common signs that replacement is due.
Can I Use Normal Rocks in a Sauna Heater?
No. Use purpose-made stones approved for the exact heater. Unknown rocks can fracture, degrade, restrict airflow or contain unsuitable material.
Should Sauna Stones Be Packed Tightly?
No. They need a stable but open arrangement so air can circulate. Tight packing can increase stress on the elements and slow the sauna’s warm-up.
Do I Need to Wash New Sauna Stones?
Follow the stone and heater instructions. Many manufacturers direct users to remove loose dust before stacking. Use plain water only and let the stones drain.
How Do I Know When Sauna Stones Need Replacing?
Replace stones that are cracked, soft, crumbling or producing substantial fragments. Slow heating, reduced airflow or a heavily settled stack can also signal that an inspection is due.



Share: